Oct
NFL Turf
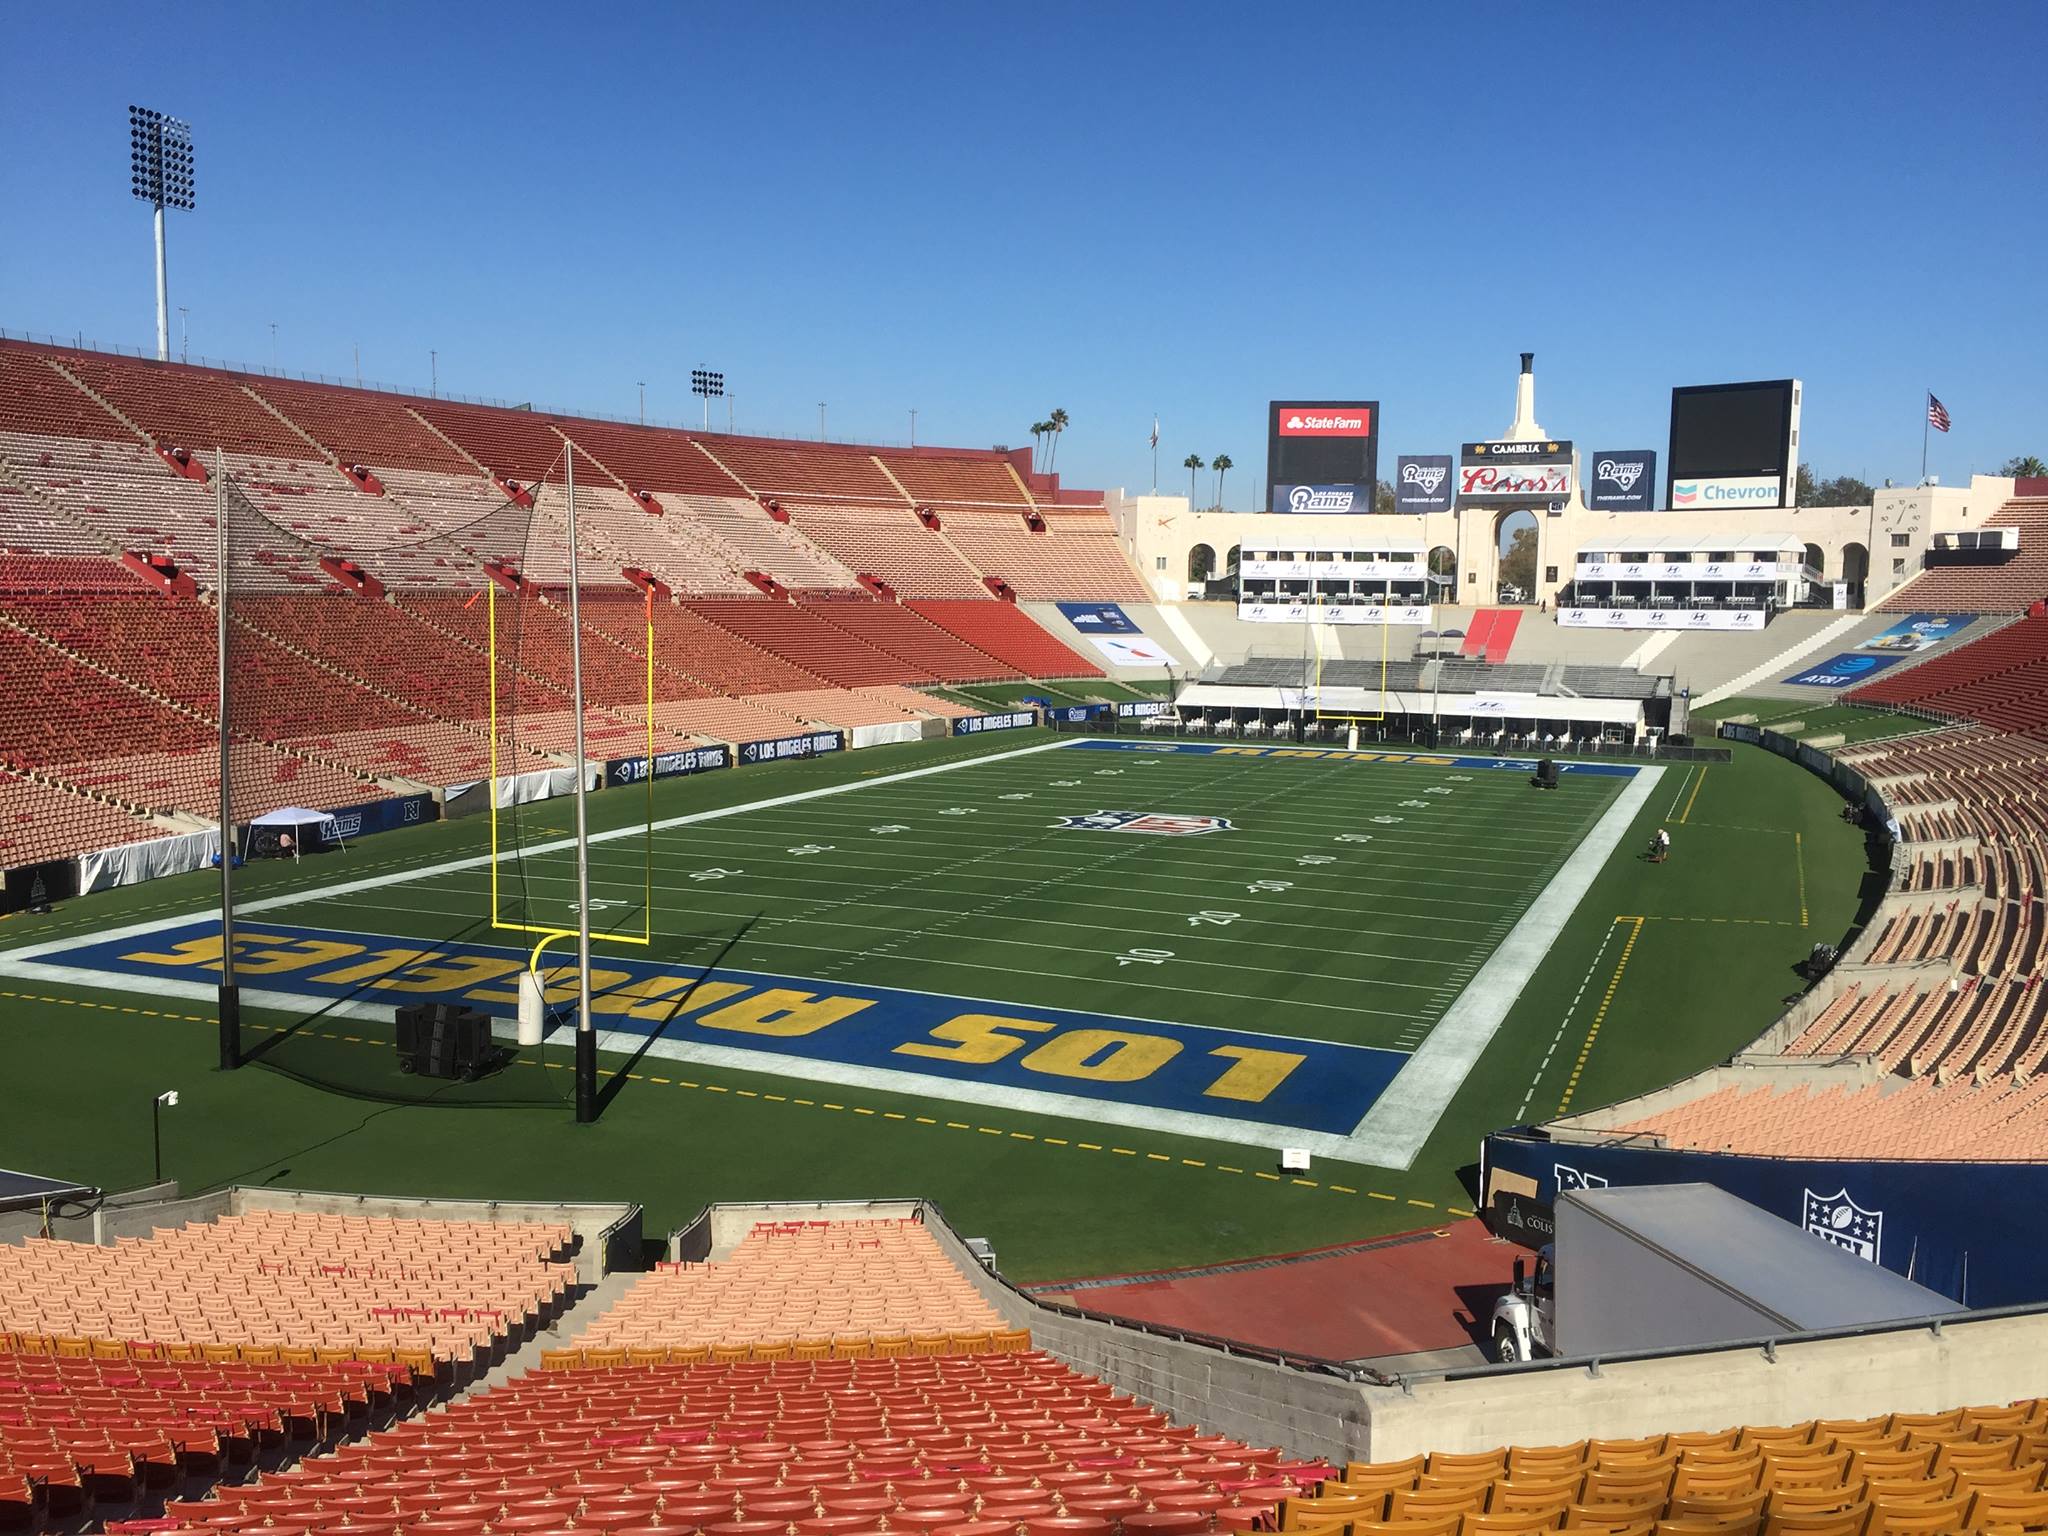
In the NFL, the football fields players practice and play on have either natural grass or artificial turf. More than half of the fields boast natural grass, but there has long been a debate over which surface is better. Many aspects factor into this: injuries, cost, and personal preference.
On artificial turf, studies have shown that injuries are more prevalent than on natural grass. A 2012 study showed that more college football players suffered ACL injuries on turf than on grass. John Brenkus, creator of Sport Science videos, said that turf increases stress on the ACL joint by about 45% and talked about a study covering over 2,600 NFL games, saying players were 67% more likely to sprain their ACL on turf than on grass. As we all know, an ACL injury can mean the end of a player’s season.
Turf typically comes with a hefty price tag. Many explore the benefits of natural grass and its cost to maintain/replace worn areas throughout the year. Preserving the natural grass playing surface would results in cost saving. Many coaches and training staff prefer natural grass, whenever possible. Said Casey Carrick, the director of athletic grounds and turf management at the University of North Carolina, “Natural grass was the preferred surface by players, coaches, us, and trainers and it was the cheaper option. By the end of the season, we had only used half of the amount of sod we had budgeted for, a significant savings versus going synthetic.”
West Coast Turf are specialists in natural grass, particularly Arizona sod. With such clients as the former Candlestick Park, San Francisco, CA-Old Home of the San Francisco 49ers, Levi’s Stadium, Santa Clara, CA-NEW Home of the San Francisco 49ers, and Oakland Coliseum, Oakland, CA-Home of the Oakland Raiders, the los Angeles Coliseum—current home of the LA Rams, and STUBHUB Center—current home to the Los Angeles Chargers, as well as 8 Super Bowl fields. We are the experts in natural grass fields for all of our sports clients, from college football to the NFL.
Visit us online to learn more: https://www.westcoastturf.com/
Comments Off on NFL Turf
Aug
Labor Day – Proof Your Lawn
Summer is the perfect time for a backyard barbeque and Labor Day Weekend is the pinnacle of the outdoor party fun. While everyone is enjoying themselves eating, grilling, standing around talking to friends, and playing cornhole, your beautiful sod lawn may be suffering under the foot traffic (and paw traffic from the four-legged party-goers). Follow our tips for keeping your sod lawn in tip top shape and keeping the damage minimal.
Tip #1: Musical Chairs is more than just a game
Large items, such as furniture, create damage to your sod when they are on it in one spot for too long. The sod becomes deprived of the oxygen and nutrients it needs to flourish and will often turn brown as the grass dies. To prevent this, move these heavy objects around every other day to different parts of your yard. For your outdoor parties, this goes for the grill, backyard games, furniture, and all other heavy objects.
Tip #2: Mulch ado about nothing
Mulch can be used in a number of ways in your yard, one of which is a space filler. If you have spots that need covering or want to keep them from forming, mulch is a great solution and looks nice in your yard.
Tip #3: Bed of roses
Make sure your flowers won’t be trampled on by party goers! Decorative fences or other landscaping to separate your flowers from the rest of your sod lawn will keep people from walking where they shouldn’t and ruining your beautiful florals!
Tip #4: Get in touch with West Coast Turf to repair any damaged sod or to install a new sod lawn that’s sure to impress at your Labor Day BBQ, or any other outdoor parties!
Comments Off on Labor Day – Proof Your LawnJul
Installation at Troon North Golf Club in Scottsdale, AZ
Jun
Warm Season Turfgrass Management
Warm Season Turfgrass Management
The information contained in this packet is designed as a general guideline for maintaining warm season turfgrass in Arizona and California. As with all living plants there will be unforeseen circumstances and environmental conditions that will require you to deviate from site to site. Maintaining turfgrass in the desert regions can present severe stress on turfgrass so daily observation is important. One plan is not going to fit every circumstance, but going into the season with guidelines will help ease the burden when situations arise.
Soil Preparation Prior to Sod Installation
- Apply gypsum at 25-50 pounds per 1000 square feet to the area you will be getting ready for turf.
- Rototill your soil to a 6-8 inch depth. This may not be possible in all areas but tilling up the soil as deep as possible will provide your lawn with more air, better water infiltration/percolation, and will allow for a stronger root structure.
- Level and grade the soil to reestablish uniformity in the soil.
- Install your irrigation system. It is important to make sure that all irrigation trenches are water packed and have fully settled before you put your lawn in. You don’t want to see where all the irrigation trenches were dug. Do you want to lower your water usage on turfgrass? Try a subsurface irrigation system. There have been so many advances in the drip irrigation market and we have had very good success.
- Finish grade your soil and use sand to do any leveling to the soil surface. Mulch is okay, but it will hold moisture in the top couple inches of the soil and can potentially bring in weed seed. Sand is the ideal growing medium for grass.
- Water your soil for a few days to make sure the soil is settled and you’re happy with the final grade. Remember sod is just like carpet and anything under the grass like large rocks will be visible.
- Order your BOBSod and set up a day to install the turf. Don’t forget to order your Soil Burst 4-4-2 organic starter fertilizer from us that can be applied right before the sod goes down or right on top of your new lawn. Don’t miss this critical step. Other starter fertilizers that can easily be applied are 11-52-0, 6-24-24, 21-7-14, or 6-20-20. There are several other kinds but these are the most readily available in town.
Installing West Coast Turf
- Lay sod around the perimeter using small cuts in the sod to help wrap around tight corners.
- Find the longest and straightest point in your lawn and lay the sod in a straight line.
- Now follow the straight line and sod in a brick pattern to stagger the seams. The easiest way to do this is to cut the first piece of sod in half and then lay full rolls. This will keep the seams from lining up next to each other.
Watering Your New Turf
- Water 3-4 times a day for the first two weeks making sure you keep the foliage of the grass moist. Since roots have not been established it is not important to water more than 10-15 minutes per cycle.
- Once the grass has rooted down (can’t be pulled up) cut your watering to one time per day for 15-20 minutes. If you have low flow sprinklers you need to water twice as long as a normal pop up sprinkler.
- Once the lawn has been in a month cut the watering back to every other to every third day for 25-35 minutes. This will be your summer watering schedule. Grass should be watered deep and infrequent to promote root growth.
Turfgrass Fertility
Fertility is one of the most important aspects of maintaining a healthy stand of turf. Fertilizers come in all different formulations and the only true way to determine requirements is to do annual soil testing. All bags of fertilizer list three numbers on the front of the bag. These are nitrogen, phosphorus, and potassium. These three nutrients are the key building blocks to every successful fertilizer program.
Nitrogen (N) – Nitrogen is one of the most essential nutrients to all grass plants. It is required in the highest quantities for all warm season grasses except paspalum. Bermudagrass will use 8-10 pounds of N per 1000 SF (350-450#/AC) during the growing season. The typical growing season is from mid-April through November. Nitrogen is the first number listed on a bag of fertilizer. (e.g. 21-0-0)
- Color
- Shoot growth
- Density
- Wear tolerance
- Recuperation of injured or new turf
Quick release Nitrogen sources:
- Ammonium sulfate
- Ammonium nitrate
- Potassium nitrate
- Urea
Slow release nitrogen sources:
- Sulfur coated urea
- Compost and manure (miloraganite)
- Poultry waste – (Soil Burst 4-4-2)
- Resin coated urea
- Urea formaldehyde
Phosphorus (P) – This is one of the key nutrients along with nitrogen and potassium that is essential for plant survival. Phosphorus is the second number listed on a bag of fertilizer. (ex. 11-52-0) It has been proven to help with quick lawn establishment because it promotes strong root growth. Most bermudagrass lawns use between 4-6 pounds (175-250#/AC) of phosphorus per 1000 SF growing season.
- Turf establishment
- Root growth
- Seed production
- Increased turf vigor
Potassium (K) – The final nutrient in the big three listed on a bag of fertilizer (ex. 21-7-14). Potassium is required by all turfgrass plants for plant strength and root formation. A potassium deficiency can be identified by yellowing of the turfgrass leaves, weak root system, and it opens up the plant for disease potential if conditions are right. A typical bermudagrass lawn will use 4-6 pounds (175-250#/AC) of potassium per 1000 SF per growing season.
- Root growth
- Heat and cold tolerance
- Wear tolerance
- Disease susceptibility
Sulfur (S) – Sulfur is typically used in smaller quantities in warm season turfgrasses, but it is a valuable nutrient for turfgrass managers. Most bermudagrasses will use 2.5-5 (100-200 pounds/AC) pounds of sulfur per 1000 SF per year.
- Green color
- Shoot growth and density
- Root growth
- Food storage (carbohydrate storage)
Iron (Fe) – Iron is an essential micronutrient that helps maintain balance in the plant. While it is not part of chlorophyll it is essential for chlorophyll synthesis. Iron has long been known as the key to solving many chlorosis issues.
- Green color
- Shoot growth
- Root growth
- Wear tolerance
- Cold/heat tolerance
Calculating Fertilizer for Turfgrass
All fertilizer bags list N-P-K on the front of the bag. These numbers determine the percentage of these nutrients in the bag of fertilizer. Using your monthly nutrient requirement you can easily calculate how much N-P-K you will be putting out in an application.
Ex. A bag of 21-7-14 is made up of 21% nitrogen, 7% phosphorus, and 14% potassium. The remainder of the bag is micronutrients and inert matter. If you wanted to apply 1 pound of nitrogen per 1000 SF you would use the following formula.
1 pound of nitrogen /.21 (percent in the bag) = 4.76 pounds of product to yield 1 pound of nitrogen per 1000 SF or 207 pounds per acre (43,560 SF/AC)
After calculating the amount of total fertilizer needed you will want to calculate the setting on your spreader by weighing 4.76 pounds. Measure out 1000 SF and adjust your setting plus/minus depending on if you have extra or too little fertilizer.
Pre/Post-emergent Weed Control
There are so many herbicides on the market today that treat any number of weeds, but I have provided a list of the herbicides I’ve had the most success using. This doesn’t mean that a product I didn’t name won’t be effective, but unfortunately some of the others I have not done enough testing on.
Pre-emergent herbicides
- Barricade 65WG (Prodiamine)
- Dimension (dithiopyr)
- Ronstar (oxadiazon)
- Pendulum (pendimethalin)
Post-Emergent Weed Control
- Trimec Classic for bermudagrass overseeded with ryegrass.
- Trimec Southern for paspalum lawns overseeded or not overseeded with ryegrass.
- Vanquish (Dicamba) safe for bermudagrass and paspalum overseed/non
- 2,4-D Amine – Safe for bermudagrass lawns overseeded/non
- Xonerate (Amicarbazene) – This can safely be used on ryegrass to control Poa annua in a bermudagrass or paspalum overseed/non. See label for rates. Best used in two half rate applications split up a month apart.
Before making an application of a pre-emergent herbicide make sure you take a look at the following:
- Irrigate afterwards, water activates pre-emergent herbicides.
- Measure your lawn surface area and calibrate your spreader properly prior to application. Applying more herbicide than is necessary could cause damage to your lawn.
- If you are starting to see a little emergence of crabgrass or poa annua after the product has been applied it is okay to make a second application of some products over the missed areas. Consult with the label prior to making a second application.
- If you have recently installed your turf (within the last 3 months) you should withhold all pre-emergent herbicide applications so you do not damage the root system.
It is extremely important to error on the side of caution when using any herbicide. Using more product than the label states is not only against the law it can also be very harmful to the turf. If you over apply herbicide you can expect to see residual damage for a few months after the application.
If you have a dormant lawn and are looking to get rid of poa annua before the bermudagrass or paspalum season apply Revolver, Kerb, or Certainty to remove.
There is a 2-3 week window between mid-December and mid-January after a hard freeze when you can apply round-up to treat weeds in dormant turf. The round-up rate should not exceed 16oz/ AC and needs to be applied before any spring green up.
Nutgrass herbicides
- Sedgehammer
- Certainty
- Monument
- Sandea
Overseeding
- Raise your mowing height up for a week so when you get ready to scalp the lawn you’re not mowing it down to the nubs. You want to raise the height 25-30%.
- When the nighttime temperatures consistently stay below 65 degrees (usually early to mid-October) you’re good to begin the overseed process.
- Rent a Ren-o-thin or dethatcher (usually $40-$50 for 4 hours) and drop the setting to just below half way. You don’t want to get aggressive and take out roots; you’re just looking to open up the grass canopy. Since warm season grasses tend to be thick at this time of the year a lot of grass will be taken when you verticut or dethatch.
- Verticut or dethatch in two-directions making sure your turf grass is open.
- Set the mower one notch below your last mow and pick up all of the grass lying on top of the ground.
- Now drop the mowing height one additional time and make sure you remove all of the remaining material that was lying on top of the turf.
- Apply your Soil Burst 4-4-2 starter fertilizer at 15 pounds per 1000 SF.
- Apply BOBSeed at 8-10 pounds per 1000 SF. I like to use a drop spreader to do two passes around the edges and keep the seed out of the rocks and dirt. Then come back with a rotary or drop spreader for the remainder of the yard.
- Since you verticut the lawn two directions you have opened up the grass plant and the seed will come up in a nice checkerboard pattern.
- Set your sprinklers to run 3-4 times per day for 5-7 minutes.
- Your lawn will germinate in 5 days and you will see grass starting to pop in 7-10 days.
- When your turf is 14 days old apply 21-7-14, 6-20-20, or 11-52-0 to your lawn.
- Make your first cut at 14-17 days when the grass is 1.5 inches. Do not cut a lot of material. Just trim it up. It is important to mow the grass when the turf is dry to get a clean cut.
- Change your watering to 1x per day for 10-15 minutes first thing in the morning for two weeks.
- At one month apply a final granular application such as Soil Burst 5-15-10, calcium nitrate or spray ferrous sulfate and potassium nitrate
- Decrease your watering schedule to every other to every third day for 20-25 minutes.
- Apply Soil Burst 4-4-2, 7-7-7, ferrous sulfate, or potassium nitrate every month throughout the winter.
- Granular fertilizers will not work well once we receive significant frost so make sure you use liquid products and keep the color bright green.
Spring Transition
- Gradually lower your mowing heights to reduce the turf canopy. Warm season grasses are not shade tolerant and excess ryegrass provides shade. No need to scalp the lawn, just lower the height down and begin to thin out the grass.
- Lightly verticut the lawn to open up the canopy and let sunlight into the grass below.
- Be careful of fertilizer rates at this time of the year and stick to slow release products such as Soil Burst 4-4-2, 11-52-0, 6-20-20, or 21-7-14. You want to put a pound of nitrogen per 1000 SF down when you make this fertilizer application. The first number on the bag is nitrogen and it is listed as a percentage. For example the 21-7-14 is 21% nitrogen. A typical fertilizer bag weighs 50 lbs so 21% of the 50 pounds is nitrogen. In other words you have 10.5 pounds of nitrogen in a 50 lb bag. Since the goal is apply one pound of nitrogen you would use the following formula.
- 1 pound of nitrogen / .21 (percentage of nitrogen on the bag) = 4.76 pounds of product per 1000 SF will yield 1 pound of nitrogen.
- If you have standing water it is a great time to aerify so you can help air and water better infiltrate the soil.
- Increase your mowing frequency to two times per week.
- Gradually back off the water this month to stress out the ryegrass when soil temperatures reach 64 degrees (usually around mid-April). Turning off the water completely will stress out the warm season turf and ryegrass so this is not the optimal approach. Use 60% of your normal water rate.
- When soil temperatures reach 64 degree apply Soil Burst 5-15-10 at 20 pounds per 1000 SF to give the grass a jump start on the year. A second option to this is to use ammonium sulfate 21-0-0 at 5 pounds of product per/1000 SF.
- Fertilize with 1-2 pounds of nitrogen per 1000 SF monthly over the summer. You can use any combination of the products I listed above as well as several others to help you achieve your goal of a perfect lawn. For a more accurate analysis on other nutrients you can send soil samples into a lab for results.
Watering
99% of all issues related with turfgrass in our area are related to water. While many assume that too little water is always the problem, overwatering is just as detrimental to turfgrass. It is extremely important to check your turf daily to determine water use. Even when temperatures reach 115 degrees in the summer it is still possible to overwater your turf. Below are the key principles to a healthy lawn followed by new sod watering guidelines:
This pictures shows a dead area right in front of a pop up sprinkler. A dual fan nozzle will solve this common problem. A dual fan will throw water out and also hit the spot in front of the sprinkler.
- Water enough to moisten as much of the root zone as possible. Using a soil probe you can determine how deep your root zone is. Water to the depth of the roots.
- Water deep and infrequently. Do not water your turf every day.
- Sandy soils require more frequent irrigation and the root zone is often deeper than a clay material.
- Clay soils can be watered less frequently with larger quantities of water.
- A typical bermudagrass lawn will use 1” of water a week during the summer months. This should be applied over 3-4 days.
- In order to successfully water deep and infrequent utilize the cycle/soak method of irrigation. If you need to run 40 minutes then water 20 minutes at 6:00 am and 20 minutes at 9:00 am.
- Water early in the morning to reduce environmental factors such as wind, evaporation, etc.
New Sod Water Guidelines
| Watering New Sod Summer Schedule | |||
| Temperature Above 90º F | |||
| Time Since Planting | Watering Frequency | Suggested Schedule | Duration |
| First 14 days | 4 times daily | 8 & 11 a.m./2 & 5 p.m. | 5 to 10 minutes |
| Roots usually established after 21 days | 2 to 3 times per week | Early Morning Hours | Water should penetrate 8 to 10 inches deep |
| Watering New Sod (Dormant Bermuda Sod Overseeded with Winter Ryegrass) | |||
| Winter Schedule. Temperatures Below 90º F | |||
| Time Since Planting | Watering Frequency | Suggested Schedule | Duration |
| First 14 days | 2 times daily | 9 a.m. & 2 p.m. | 10 to 15 minutes |
| 15 to 21 days | 1 time, every other day | Early Morning Hours | 15 to 20 minutes |
| Roots usually established after 21 days | 3 to 10 days, depending on weather | Early Morning Hours | Water should penetrate 4 to 6 inches deep |
Turfgrass cultural practices
Both aerating and verticutting will help reduce soil compaction. This is one of the biggest contributors to turfgrass desiccation. Soil compaction not only effects soil oxygen levels, it also plays a major role in the root system, deters the plant from accessing many of the key nutrients, and is a major contributor to weeds.
As with any maintenance program attention to detail is always important. In order to maintain a healthy turfgrass plant year round I would suggest incorporating the following into your yearly plan:
Verticutting or Dethatching (power raking): Light verticutting can promote new growth, reduce thatch, and help with early spring green up by letting air move in the root zone. I highly suggest verticutting prior to overseed to open up the grass plant. Opening up the plant allows the seed to get inside the grass reducing the amount of seed that fails to germinate.
Aeration: Helps relieve the root zone of compaction while controlling thatch. Opening up the pore space in the ground helps with water infiltration/percolation and also improves air flow.
Here is a link to a video on verticutting/power raking:
https://www.youtube.com/watch?v=B8p5R_sowbI
Varieties of warm season turf
- Paspalums (Platinum/Sea Spray)
- Darkest color of any of the warm season turfgrasses
- Can be mowed between 1/10th of an inch and 2 inches with a rotary or reel mower
- Highest salt tolerance of any warm season grass which means it can tolerate high sodium water sources such as effluent water
- Shortest dormancy period of any of the warm season grasses (often as little as 2-3 months)
- Full sun between 9am and 3 pm
- Uses 2/3rds the nitrogen as bermudagrass (stick with the Soil Burst products for low nitrogen, high calcium applications)2. BOBSod
- Most popular homeowner/landscape variety on the market
- Deep blue/green color
- Maintain between ¼” inch and 1.5 inches with a rotary or reel mower
- Uses very little nitrogen, has virtually no seed heads, and is a slow growing turf which means less mowing
- Soft, carpet like feel
- EZ-Turf (Arizona)
- Perfect grass for low maintenance lawn
- Open turf canopy which makes it ideal choice for rotary lawn mower
- Coarser leaf blade than BOBSod or Tifway
- Medium green color and fast growing turf
4. Tifway II (California)
- Medium leaf texture
- Shortest dormancy period of any of the bermudagrasses
- Maintain between 3/8” and 1” with a sharp rotary or reel
- Very dense growth habit with dark green color
Tifway 419/Tifgreen 328
- Very dense turfgrasses with medium fine leaf texture. Tifgreen 328 has shorter internodes which allows it to be maintained lower.
- Aggressive growth habit and requires full sun
- Best maintained with a reel mower but Tifway 419 can be mowed with a sharp rotary
- Excellent sports turf with a soft surface
St Augustine
- Coarse bladed, plush growing turfgrass that does well in the shade or ideally full sun.
- Can be maintained with a rotary or a reel
- Dark green color in the summer months but should be left dormant for the winter months
Comments Off on Warm Season Turfgrass Management
May
West Coast Turf – Official Turfgrass Providers to the Arizona Diamondbacks
Apr
Arizona Sod Mower Maintenance
While technically the calendar says spring, it feels like summer here in the valley of the sun. As we go through the transition period in California and Arizona from ryegrass back to bermudagrass or paspalum I want to touch a little bit on getting your mower ready for the season. It’s always a good idea to start each season off with a clean, sharp, and ready to use mower. There is nothing worse than going out to cut your lawn and pulling on the lawn mower cord a dozen times only to find the mower won’t turn over. There are some simple things you can do to keep it running well and last for several years.
Before I go into maintenance of your mower I will touch on the two different types of mowers on the market. You can choose between a rotary mower and a reel mower. The reel mowers I will refer to will be self-propelled mowers instead of push reel mowers. The reason I’m skipping on the push reel mowers is because it’s tough to push through thick bermudagrass during the summer months. While it can definitely be done, its just not my favorite thing to do on a 115-degree Arizona day.
There are several brands of reel mowers on the market so deciding which one to buy is going through the various options and deciding what is most important to you. Some of these choices include desired height of cut, number of reels on the mower (the mower reels, the tighter you can mow), weight of the mower, cutting width, and deciding if you will be collecting clippings or letting them lay on the ground. Most of the new reel mowers have a front bucket attachment but there are still a few on the market that drop clippings out the back of the mower.
Comments Off on Arizona Sod Mower Maintenance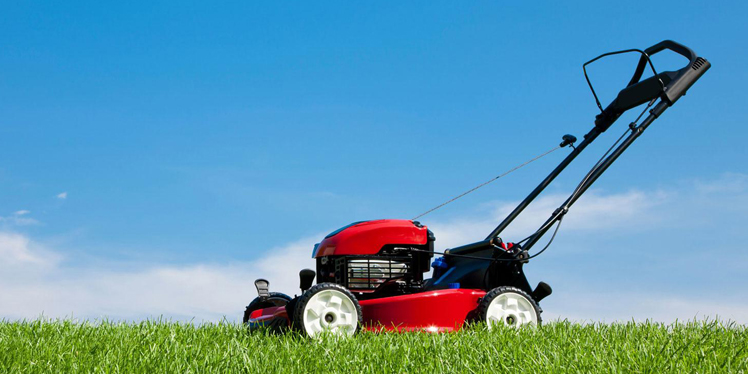
Mar
Arizona Sod Lawns on a Budget
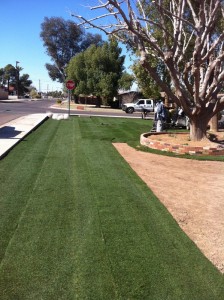
How Much Does Sod Cost?
According to a recent study done by Home Advisor, the average cost of having sod installed in a 2,000-square foot yard is a little over $1,000. Assuming the area is relatively flat, this price includes the sod, labor and equipment needed to have your sod installed by a professional.
Mar
Read This Before Laying California Sod in the Winter
Ideally the best time to lay sod is from April to October, but sometimes waiting until those months simply isn’t an option. If you find yourself in this position, don’t panic. Although laying California sod in the winter is not ideal, it’s still possible and can have some advantages when done with care.
Comments Off on Read This Before Laying California Sod in the WinterAug
Preparing Your Lawn for Fall Transition
We’re halfway through August and the temperatures are still soaring well into the hundreds. As I sit here ordering my ryegrass seed for the farms I figured it was a good time to put out a short blog on preparing your lawn for the fall.
The hot/humid weather is ideal for warm season grasses, especially with sod in Arizona and California. If you had any weak areas in your lawn you saw one of two things happen over the last couple weeks. You either saw the weak areas begin to grow in size or you saw your problem areas fill in as the stolons moved across the open ground.
If your weak areas are getting larger you should take a close look at your irrigation system. Sometimes it appears sprinklers are getting great coverage but when you put out bowls to check for water volume you often find that area is being missed. One of the most common areas for this is right in front of your pop up sprinklers. That triangular spot right below the sprinkler is the hardest spot to cover on the whole lawn. The easiest way to fix this issue is to put in a dual spray nozzle. These cost around $3-$4 and can be installed in under a minute. Read the rest of this entry »
Comments Off on Preparing Your Lawn for Fall TransitionMay
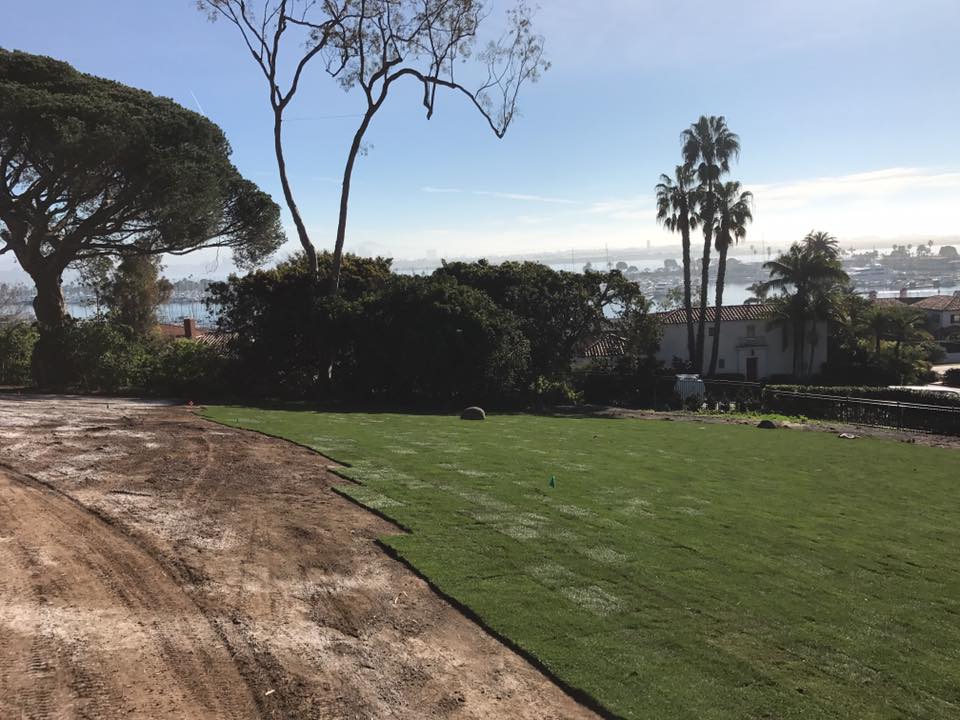
Soil Prep/Lawn Establishment
With the rising temperatures we have quickly entered the best time of the year to plant sod. I’m sure a few of you just read the first sentence and thought that I was crazy since we’re hitting 105-110 degrees most days. Warm season turf is so well adapted to this type of weather that establishing a lawn during the summer is a simple process with the right prep work and follow up. I’m going to outline some simple cost effective steps for those looking to put in a lawn this summer.
Living in the desert we all know that water is scarce so we want to do our best to preserve it and not overuse it. One of the best water saving tips is putting in an automatic sprinkler system. Before I proceed I will tell you that I don’t recommend putting in a new lawn without one. A good sprinkler system will allow you to put out the correct amount of water in a given period of time and will help eliminate waste.
BOBSod does very well during the hot summers.
Setting up a manual sprinkler or hose is inefficient, time consuming, and most of all it is very tough to gauge the amount of water you actually put out. Before putting in an irrigation system you should by a small gauge to check your homes water pressure. Knowing how much water pressure you have will determine how many sprinklers can be on each valve. Depending on the area you will be watering you may need a couple to several valves to correctly operate your irrigation system. Most sprinkler systems are set up with a valve that controls the drip lines to the plants and then a valve for each section of the turf. A home with 1000 square feet of turf will typically have two valves to control the lawn. If you have very low water pressure you will probably need to add a third valve so less sprinklers are running at one time.
Comments Off on Soil Prep/Lawn Establishment